How to Import Trust Wallet to MetaMask?
Want to get more out of your crypto wallet? If you’re looking for better access to Web3 apps, browser tools, or Ethereum dApps, it’s time to import Trust Wallet to MetaMask. Trust Wallet works well on a mobile, but MetaMask gives you more freedom, especially on desktop and with browser extensions. The good news? Importing […]
Want to get more out of your crypto wallet? If you’re looking for better access to Web3 apps, browser tools, or Ethereum dApps, it’s time to import Trust Wallet to MetaMask. Trust Wallet works well on a mobile, but MetaMask gives you more freedom, especially on desktop and with browser extensions.
The good news? Importing your wallet is quick and safe. Your funds stay where they are, but you unlock more features such as multi-chain support, custom networks, and access to decentralized applications.
This guide will show you two ways to do it: using your secret recovery phrase or private key. Both methods are beginner-friendly and work on mobile or desktop in a few minutes.
Step-by-Step Process to Transfer Trust Wallet into MetaMask
You’ll need an active MetaMask account to get started. If you haven’t created one yet, follow these simple steps to set up your MetaMask wallet and prepare for a smooth import.
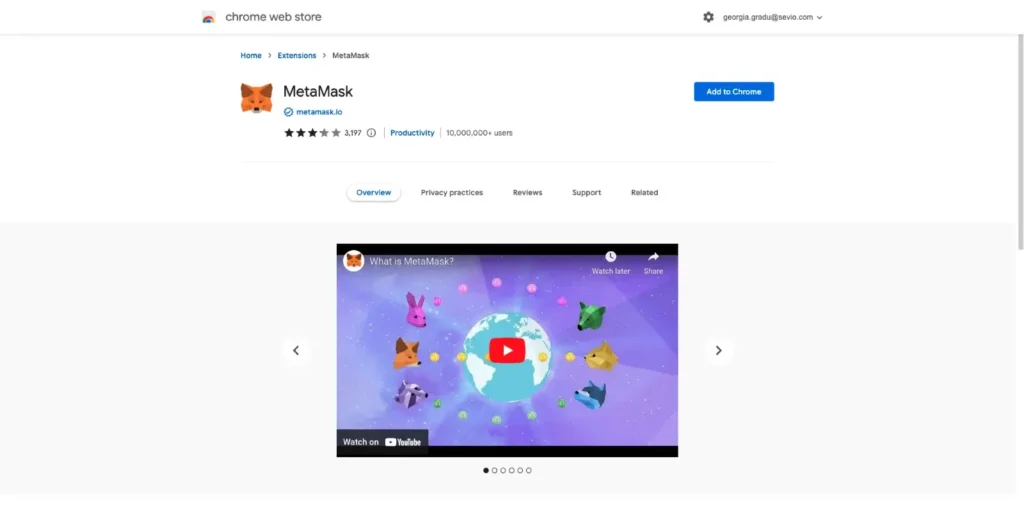
Step 1: Access MetaMask on the desktop or download the mobile app
Step 2: Download the MetaMask browser extension (in case you chose to use your computer)
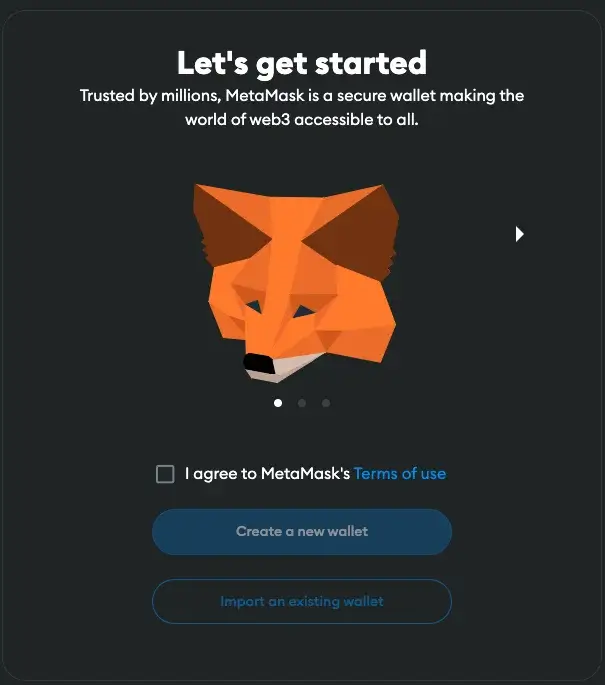
Step 3: Create a new MetaMask wallet
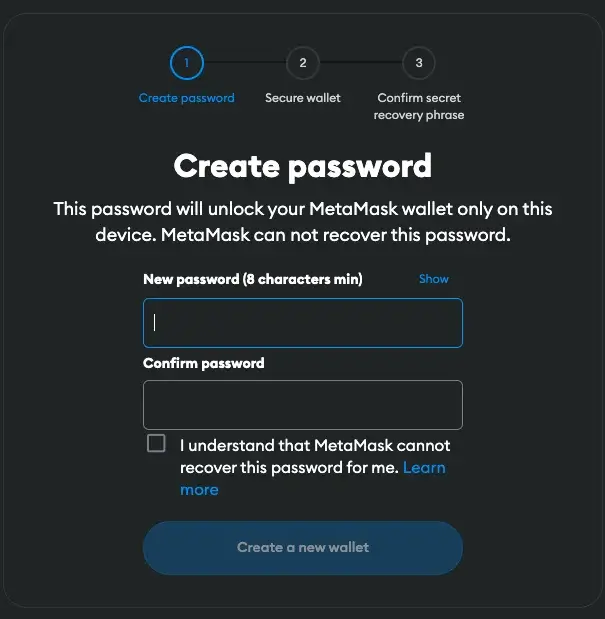
Step 4: Create a strong password and confirm it
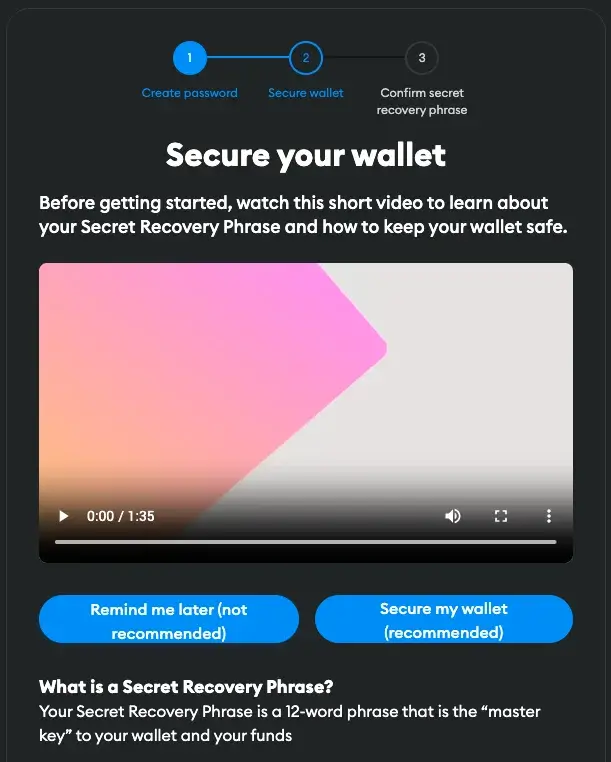
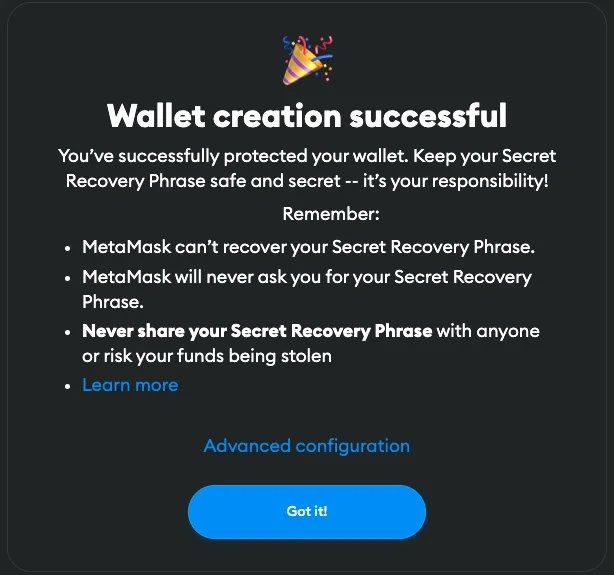
Step 5: Secure your wallet to keep your funds safe
Step 6: Reveal the secret recovery phrase and copy it to a safe place that can be accessed only by you

Step 7: Confirm the seed phrase by filling in the empty spaces with the words required
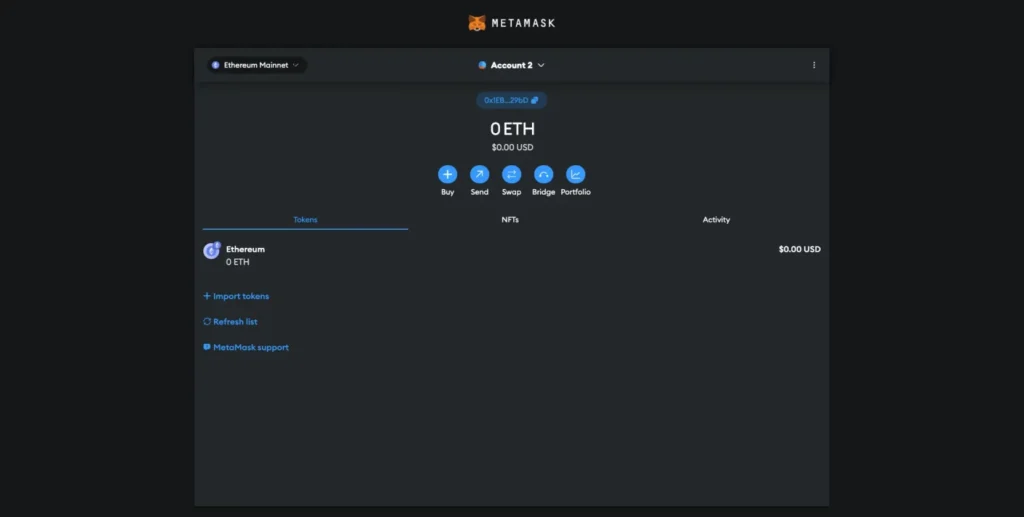
Step 8: Your MetaMask account is all set up
Now that your MetaMask wallet is ready, you can easily connect Trust Wallet to unlock more features and greater flexibility.
Method 1: Import Using Secret Recovery Phrase
This is the easiest way to import Trust Wallet to MetaMask.
Step 1: Install MetaMask
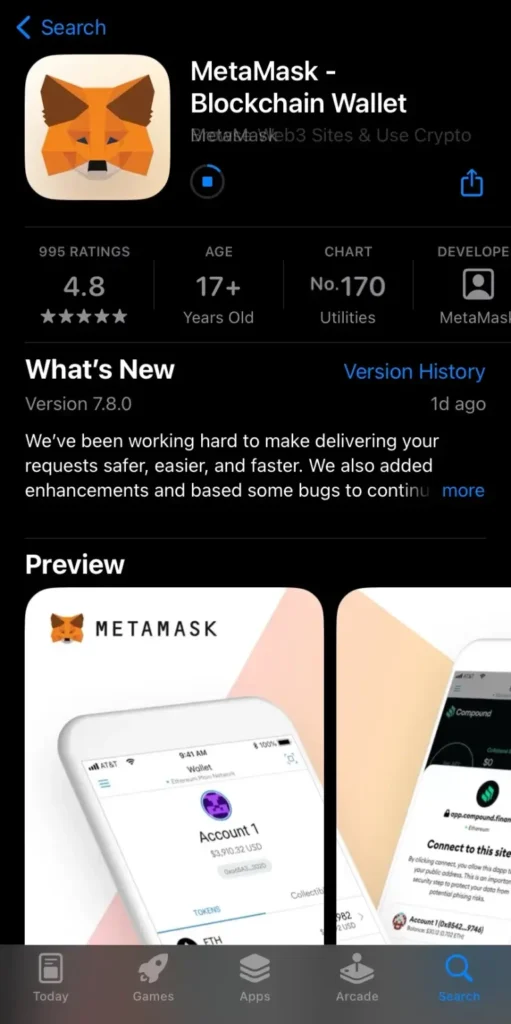
Go to Google Play or the Apple Store and download the MetaMask app.
Step 2: Open the Metamask App and Click on “Get Started”
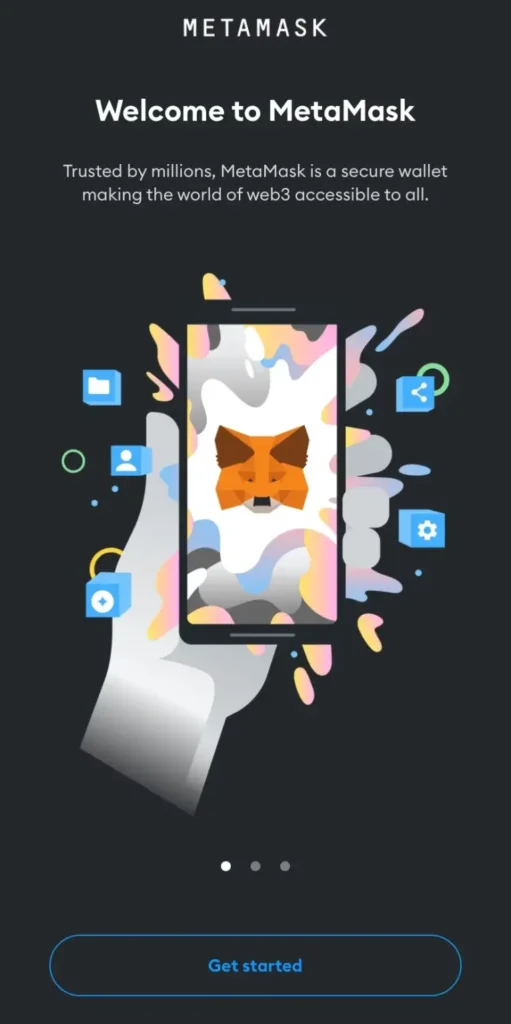
Open the MetaMask app. There, you will see a “Get started” button. Click on that to find the options to create or import wallets.
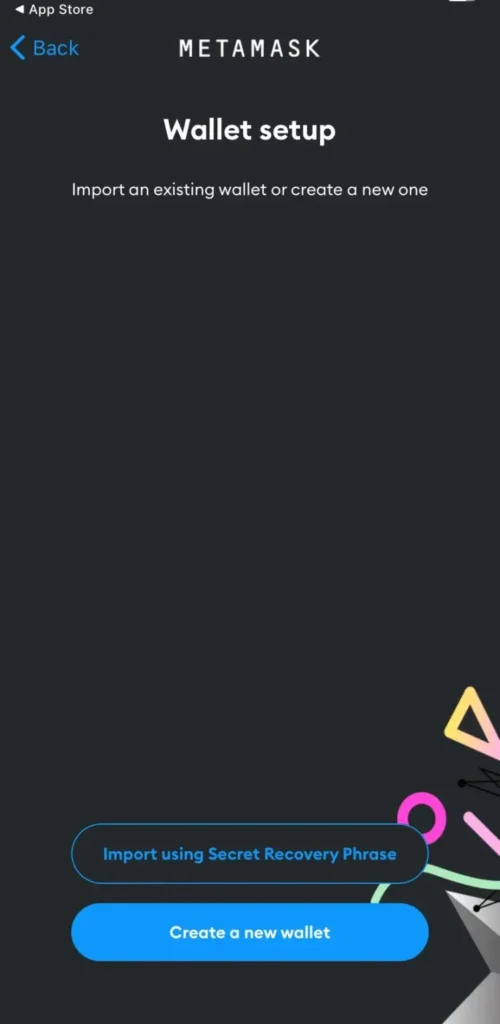
Step 3: Click on “Import Using Secret Recovery Phrase”
You will see two options: “Import using Secret Recovery Phrase” and “Create a new wallet.” Click on the first one to start importing your Trust Wallet.
Then, you will be required to agree to MetaMask’s policy. Read the information thoroughly and click on “I agree.”
Afterward, you can review MetaMask’s latest Terms of Use. After reading them, check the “I agree” section and click “Accept.”
Step 4: Import the Secret Recovery Phrase
The next step is to add the Secret Recovery Phrase from Trust Wallet.
To do that, go to the Trust Wallet app.
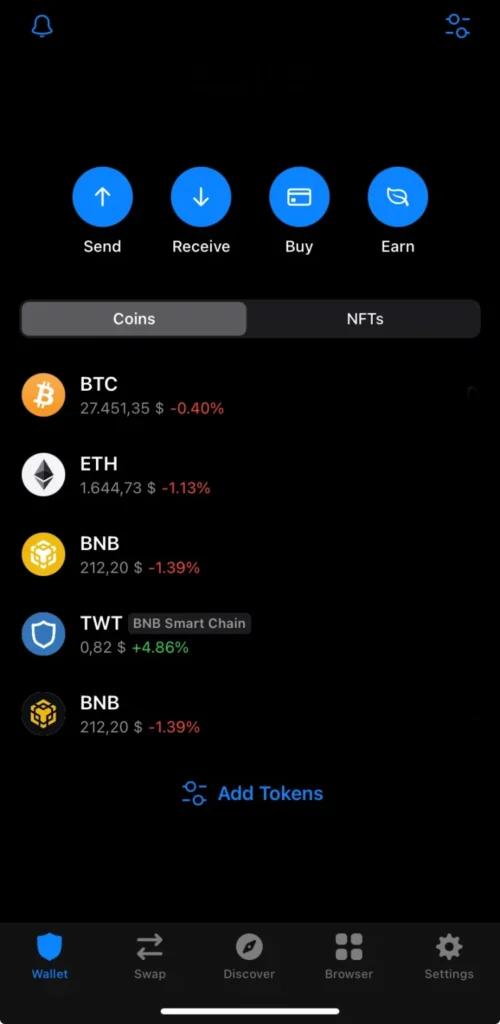
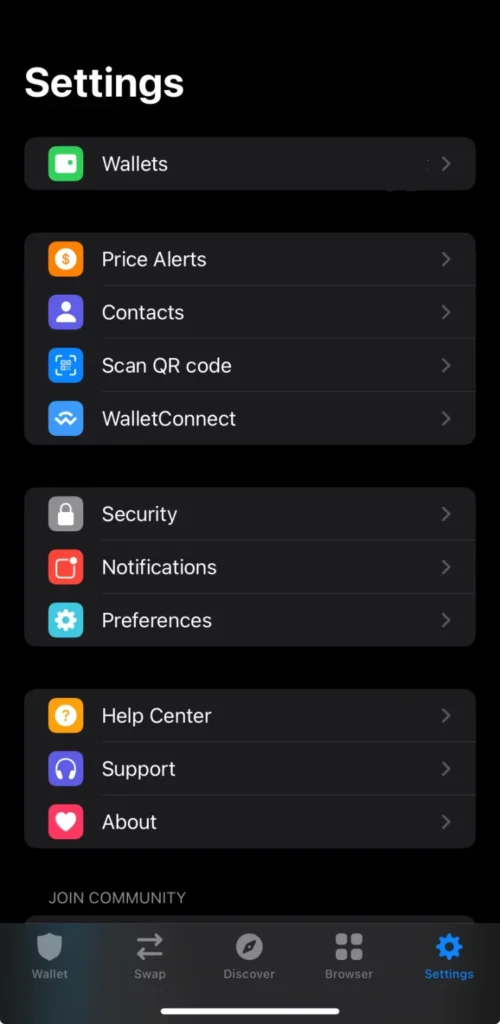
Click on the “Settings” icon in the lower right corner. Then click “Wallets,” the first option from the settings menu.
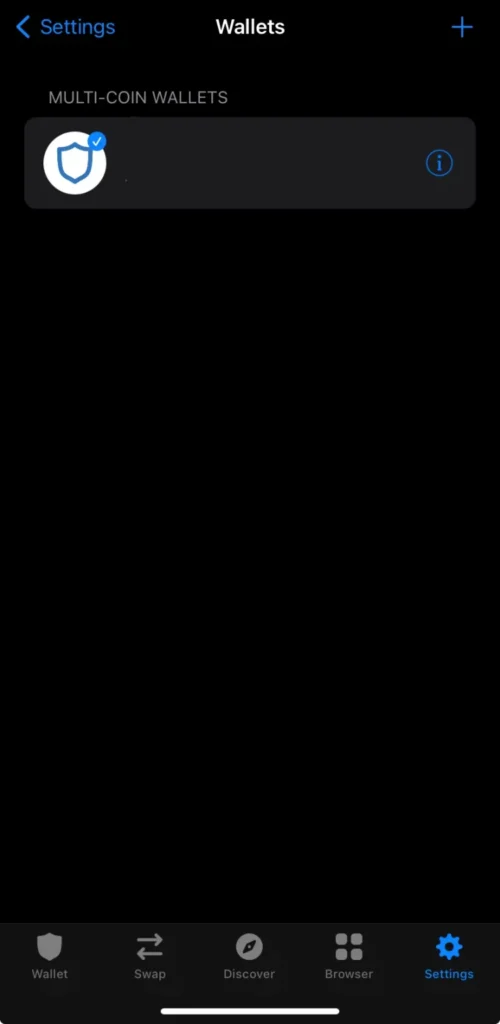
Click on the “Information” icon beside the name of the cryptocurrency wallet you want to import.
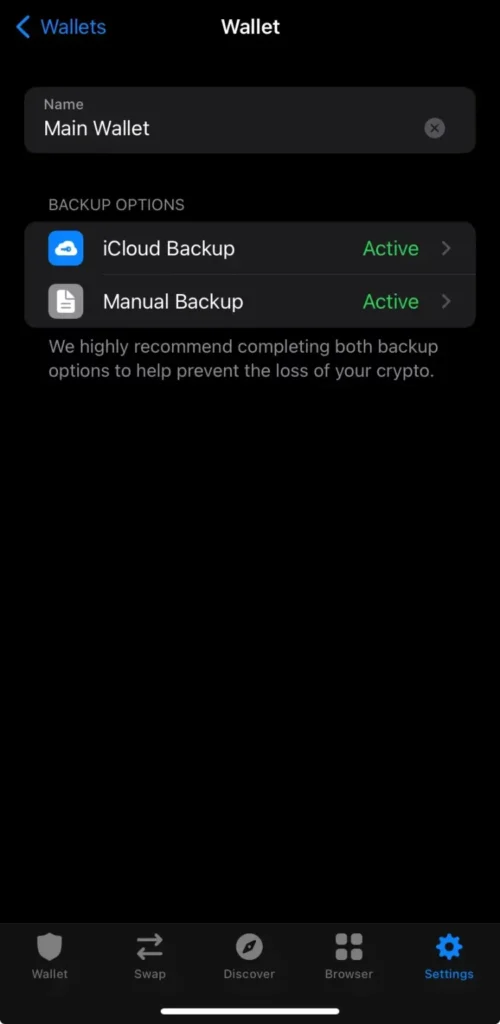
There, you will be able to find the Secret Recovery Phrase. Copy it and go back to MetaMask. You can also write the Secret Recovery Phrase somewhere safe and copy it from there.
Step 5: Paste the Secret Recovery Phrase into MetaMask
When you return to MetaMask, you will find a place where your Secret Recovery Phrase is required. Paste the secret words there.
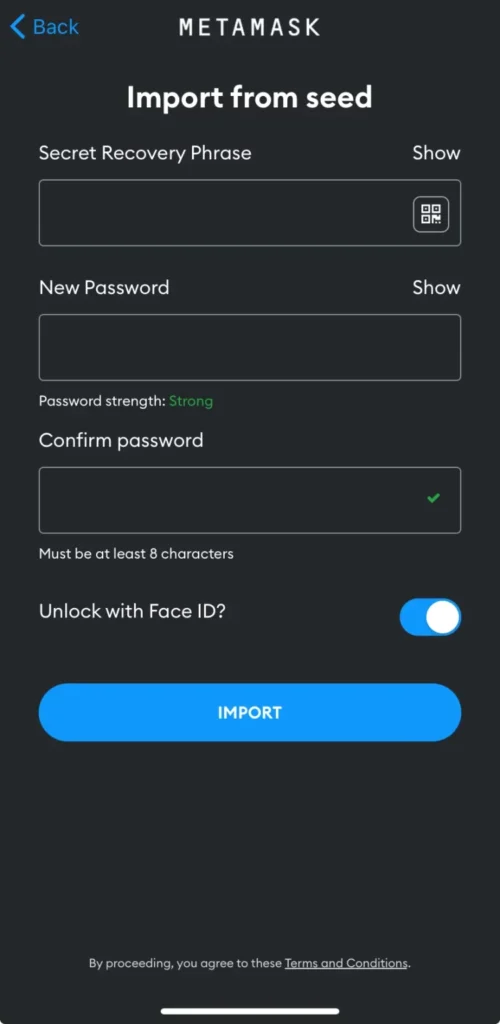
Step 6: Create a Password
Afterward, enter a strong password and confirm it. Remember that the password will secure your wallet and, therefore, your funds, so make it as strong as possible.
Step 7: Click on “Import”
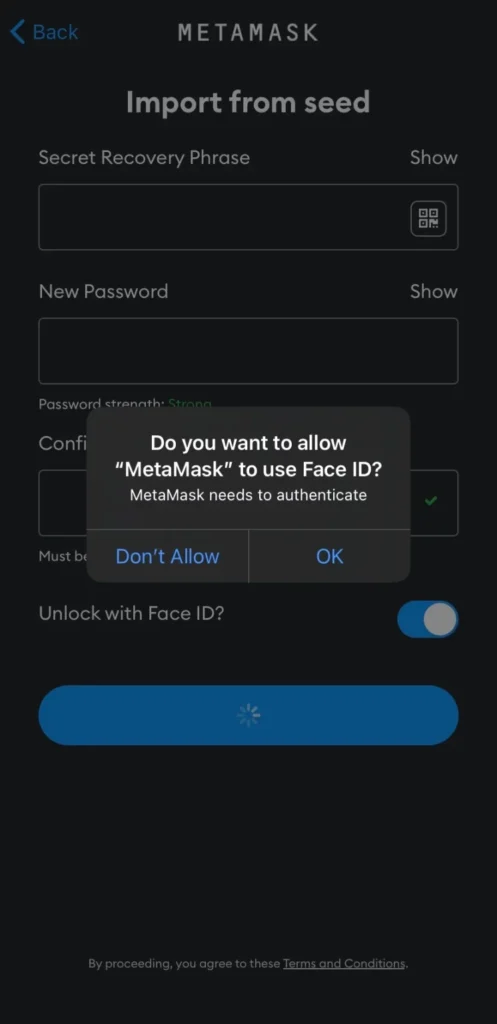
After you enter the Secret Recovery Phrase and create a password, you can enable Face ID to access the wallet. Then, your Trust Wallet is imported to MetaMask.
Afterward, you successfully imported Trust Wallet to MetaMask.
Method 2: Import Using Private Key
This method is more technical and should only be used if you understand the risks. Trust Wallet doesn’t directly show private keys, so you must use a Mnemonic Code Converter.
Step 1: Look for a Mnemonic Code Converter
First, you will have to find a trustworthy mnemonic code converter. In this guide, we will use iancoleman.io.
However, it’s better to be paranoic regarding your secret phrase and private key, so we recommend you access the converter offline. To do that, you can go to GitHub, where you will find a downloadable HTML version.
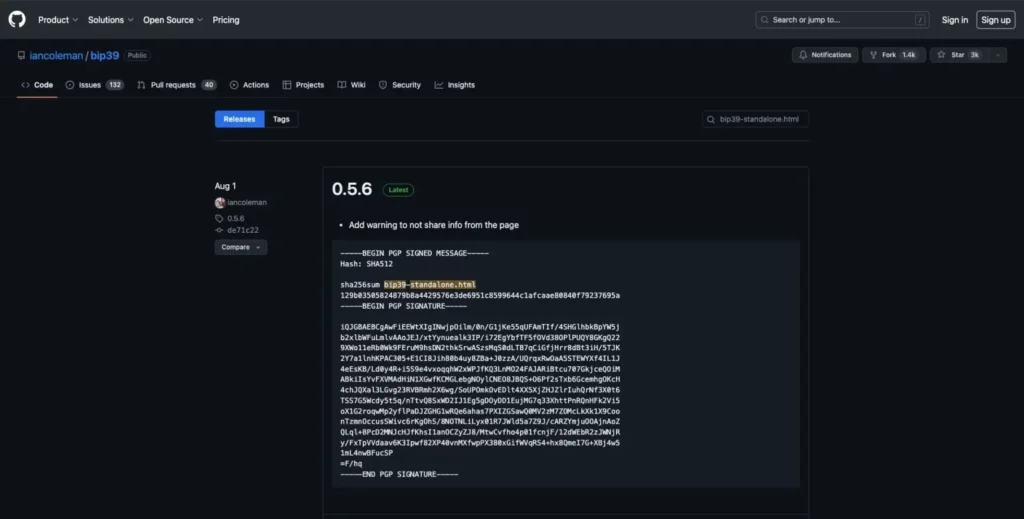
Step 2: Open the HTML Version of the Mnemonic Converter
After you download the .html, open it. On that page, you can enter your Trust Wallet Recovery Phrase.
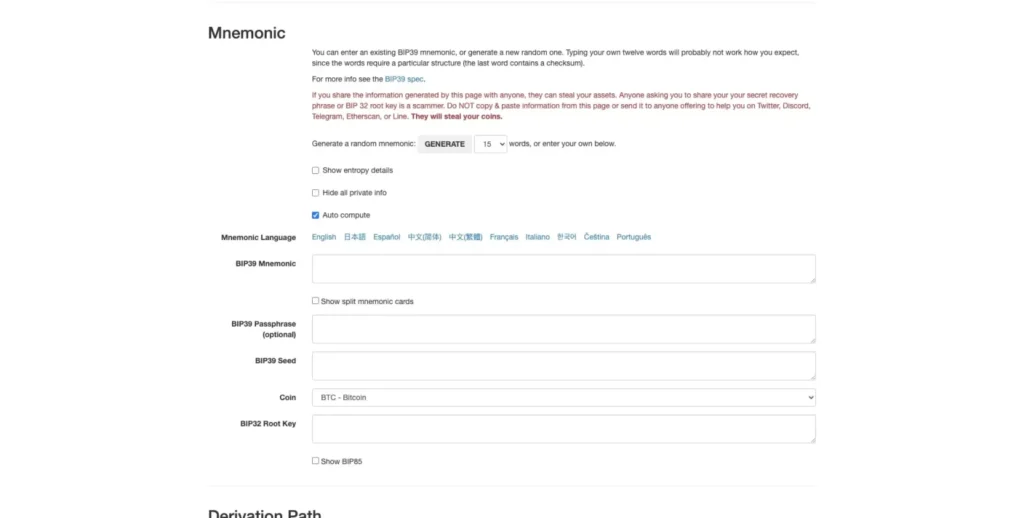
Find the Trust Wallet Secret Recovery Phrase and type it in the “BIP39 Mnemonic” section. After you finish adding it, the other fields will be automatically updated. However, you will have to select the coin manually.
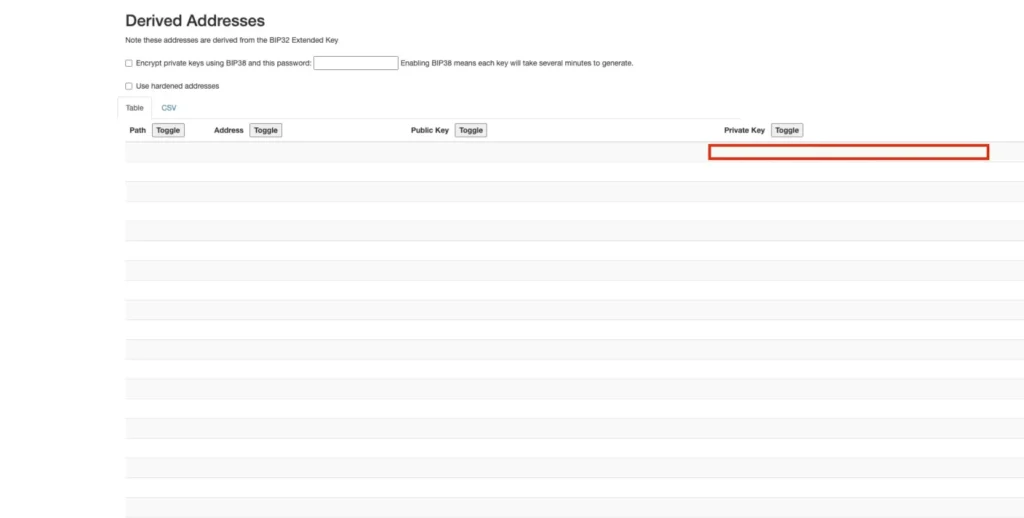
Step 3: Copy the Private Key
Copy the top private key to the “Derived Addresses” section.
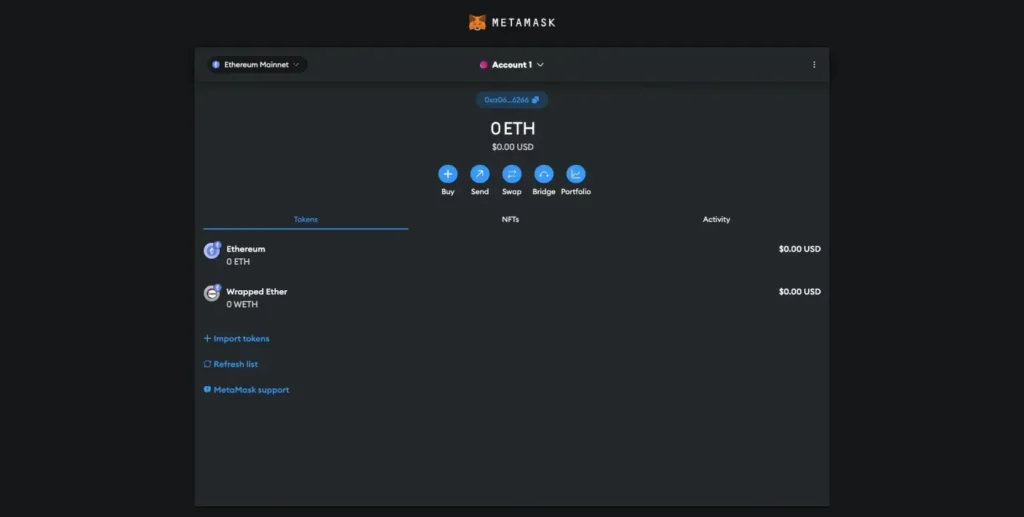
Step 4: Go to Metamask and Import the Wallet
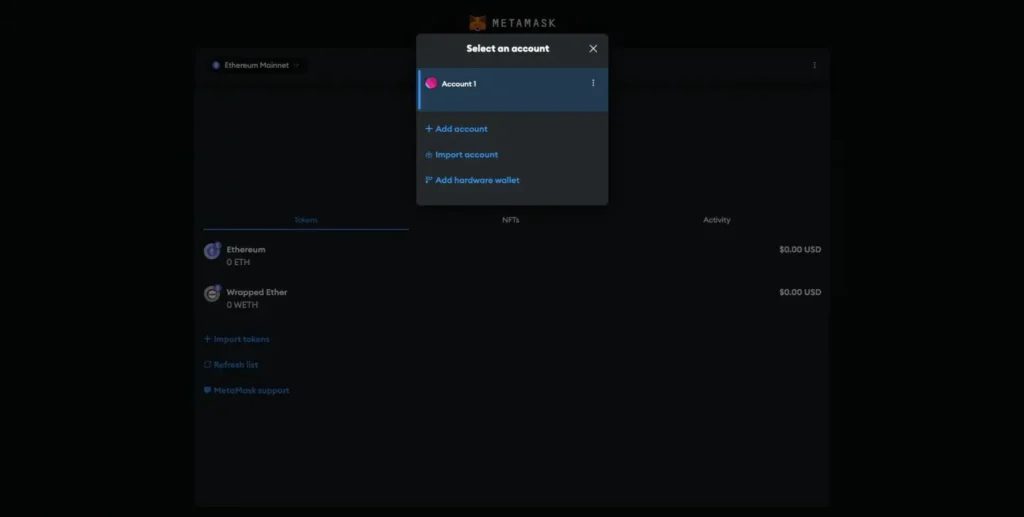
Return to MetaMask and click the “Account” button under the MetaMask logo.
Click on “Import account.” There, you can paste the private key you copied from the generator. Then, click on “Import.”
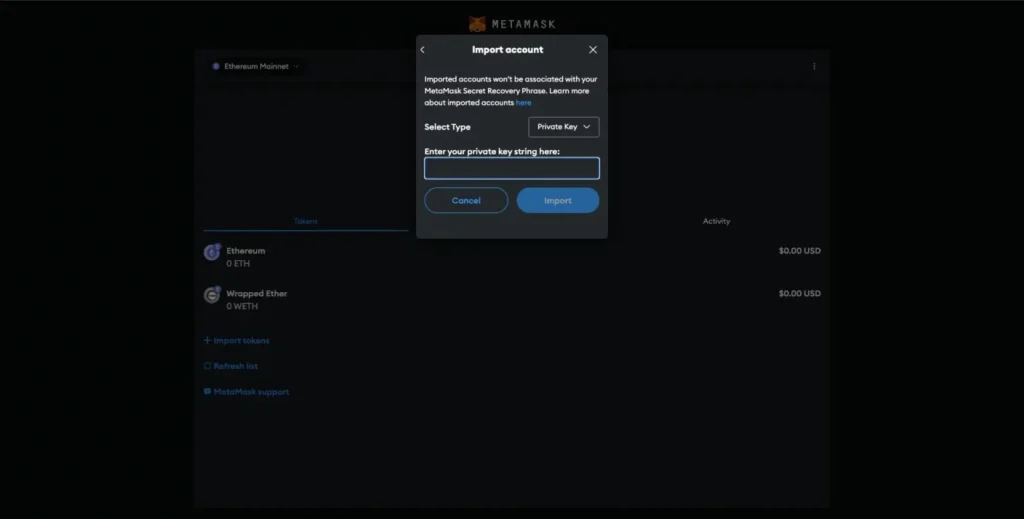
This way, your Trust Wallet was imported to MetaMask.
Proceeding with this method requires care, as exposing private keys can compromise your wallet.
Troubleshooting Common Issues
If you’re having trouble importing Trust Wallet to MetaMask, don’t worry, it’s often a simple fix. Below are some of the most common issues and how to resolve them quickly.
Invalid Secret Recovery Phrase
MetaMask says your secret recovery phrase is invalid.
Solution:
- Make sure you copied all 12 words in the correct order.
- Each word should be lowercase and separated by a single space.
- Double-check for typos or extra spaces.
Tip: Try pasting the phrase into a notes app first to make it easier to review before pasting into MetaMask.
Private Key Not Working
You’re trying to import your wallet using a private key, but MetaMask shows an error.
Solution:
- Ensure you used a trusted mnemonic converter to generate your private key from your recovery phrase.
- Confirm that you’re copying the correct key for the Ethereum network address.
Wrong Network After Import
You successfully imported your wallet, but your tokens or coins aren’t showing up.
Solution:
- Ensure you’ve selected the correct blockchain network (e.g., Ethereum, BNB Smart Chain, Polygon).
- In MetaMask, go to Settings > Networks and manually add or switch to the correct network.
Example: If your tokens were on BNB Chain in Trust Wallet, you must first add BNB Smart Chain to MetaMask.
Wallet Not Showing Expected Tokens
After importing, your wallet will appear empty or will have some missing tokens.
Solution:
- Click “Import Tokens” in MetaMask.
- Manually add the token’s contract address from a trusted source like CoinGecko or the token’s official website.
- Refresh your MetaMask app after adding.
Issues on Mobile Devices
The MetaMask mobile app crashes or behaves unexpectedly during import.
Solution:
- Ensure your app is updated to the latest version.
- Restart your phone and try again.
- If issues persist, try the desktop extension version of MetaMask instead.
These fixes should resolve most problems when importing Trust Wallet to MetaMask. If you’re still stuck, consider checking the official MetaMask Help Center or Trust Wallet support page.
FAQ
What is Trust Wallet?
Trust Wallet is a mobile crypto wallet that lets you store, send, and receive cryptocurrencies across other blockchains. It’s known for its simplicity and broad asset support.
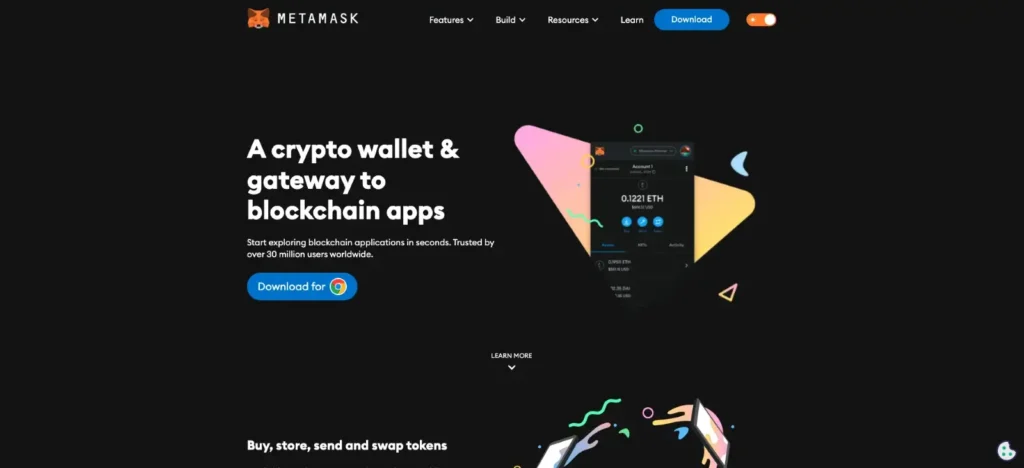
What is MetaMask?
MetaMask is a crypto wallet and gateway to Web3. It is mainly used as a browser extension and mobile app. It supports Ethereum and other EVM-compatible networks and is widely used for DeFi and NFT access.
How to Import Trust Wallet to MetaMask on iPhone or Android?
Both iOS and Android follow the same steps listed above. Be sure to download MetaMask from the official App Store or Google Play Store, and follow Method 1 for the most secure experience.
Do I Need To Delete Trust Wallet After Importing It to Metamask?
No, you can keep multiple wallets. If connected to the same network, they’ll reflect the same balance, giving you flexibility on mobile and browser.
Is Using the Exact Recovery Phrase on Trust Wallet and Metamask Safe?
Using the exact recovery phrase is safe if you keep it private. Both wallets access the same blockchain data, but never share your phrase with anyone or store it online.
Final Thoughts
If you’re ready to take the next step, import Trust Wallet to MetaMask now and gain more control over your crypto assets.
This guide explains two methods for importing your Trust Wallet into MetaMask: quick, easy and secure. Follow the steps, and you’ll have your wallet set up in no time.
No matter your method, one thing is critical: your secret recovery phrase and private key are the only way to access your crypto. Keep them private, store them securely, and never share them with anyone. Doing this allows you to confidently manage your funds and enjoy blockchain technology’s evolving capabilities worldwide.